


How to use your Pom Pom Kit
Follow the steps and decorate your pictures with colourful pom poms.
Step by step
From blank card to fluffy masterpiece
Works the same for every Pom Pom Kit theme — four easy steps, no glue and no mess.
-
1
Prepare the card
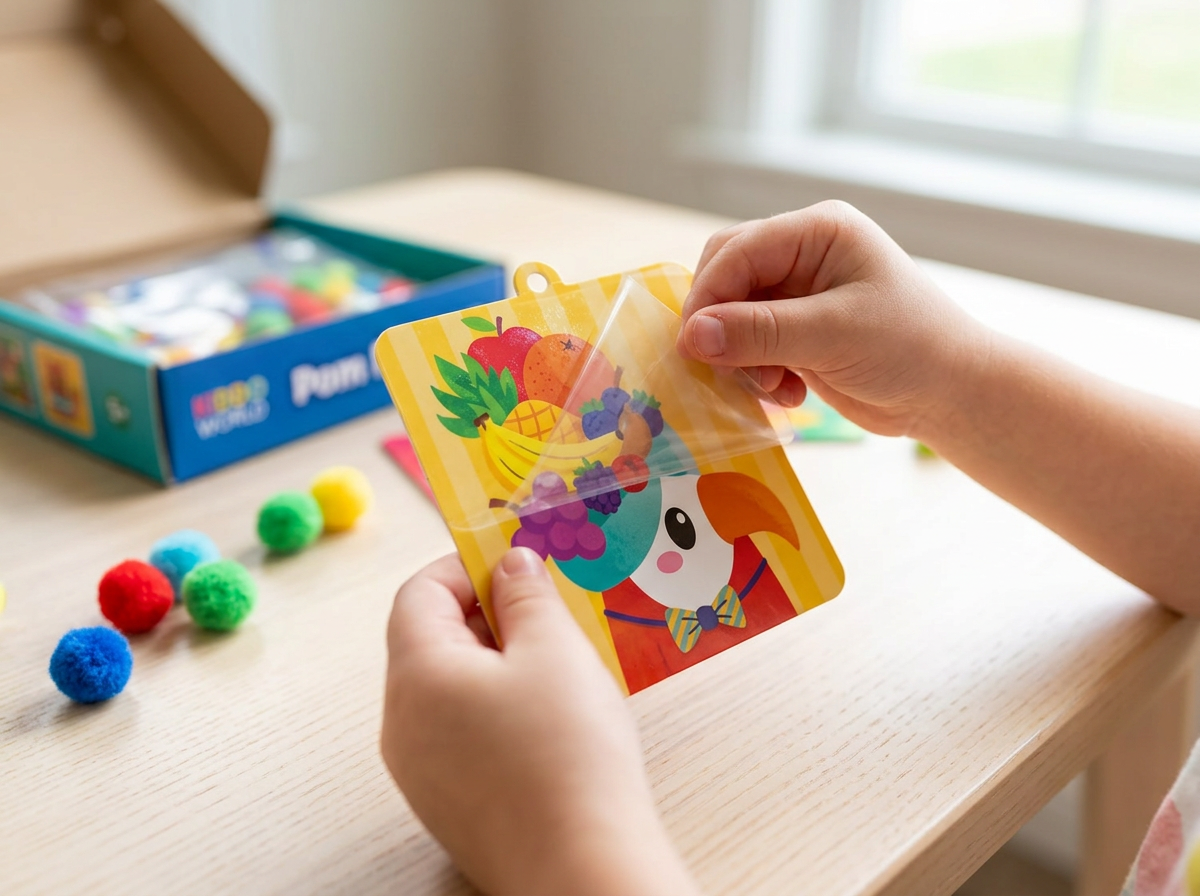
Choose a picture card from your kit. Carefully remove the clear protective sheet from the card. Underneath you’ll find the sticky areas where the pom poms go.
-
2
Pick up a pom pom
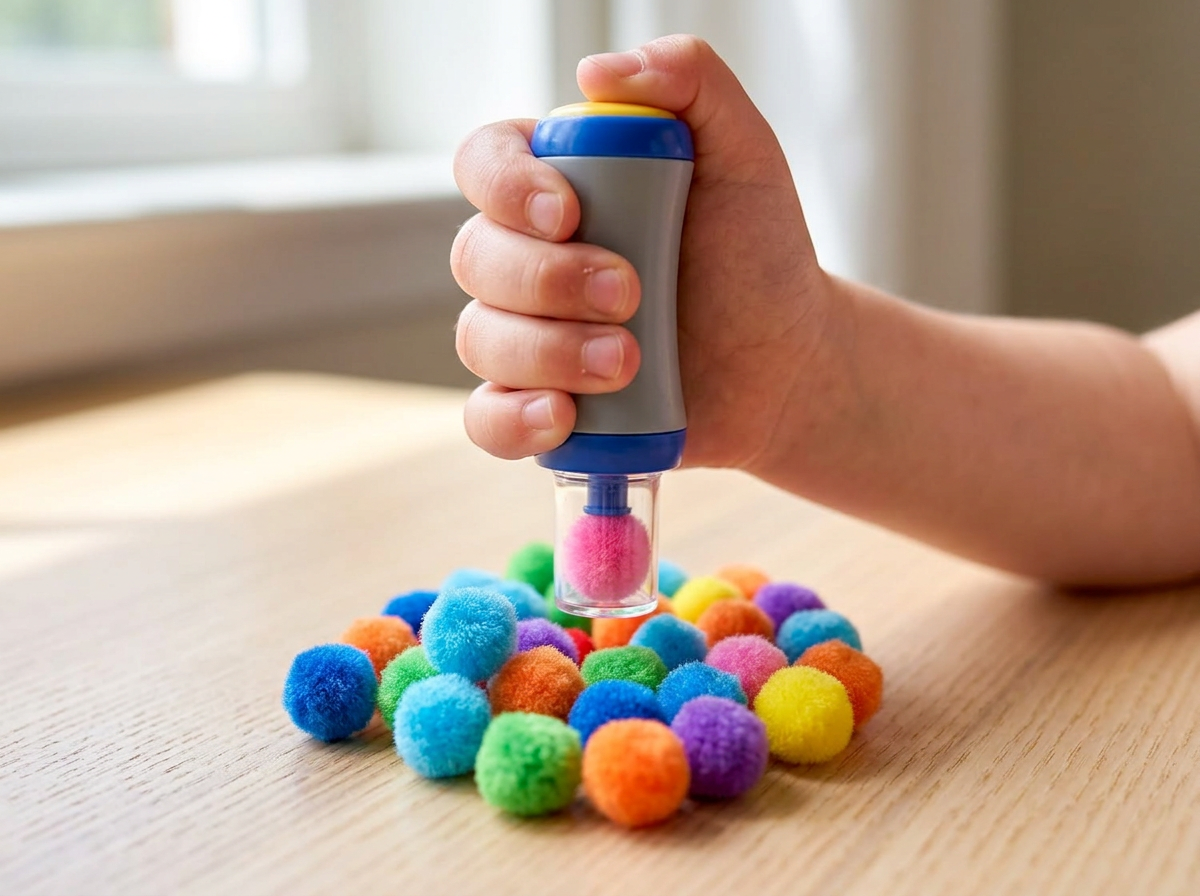
Take the pom pom popper tool and hold it straight above a pom pom. Push the popper down over the pom pom so it gets caught inside the tip. Now it’s ready to place.
-
3
Press it onto the card
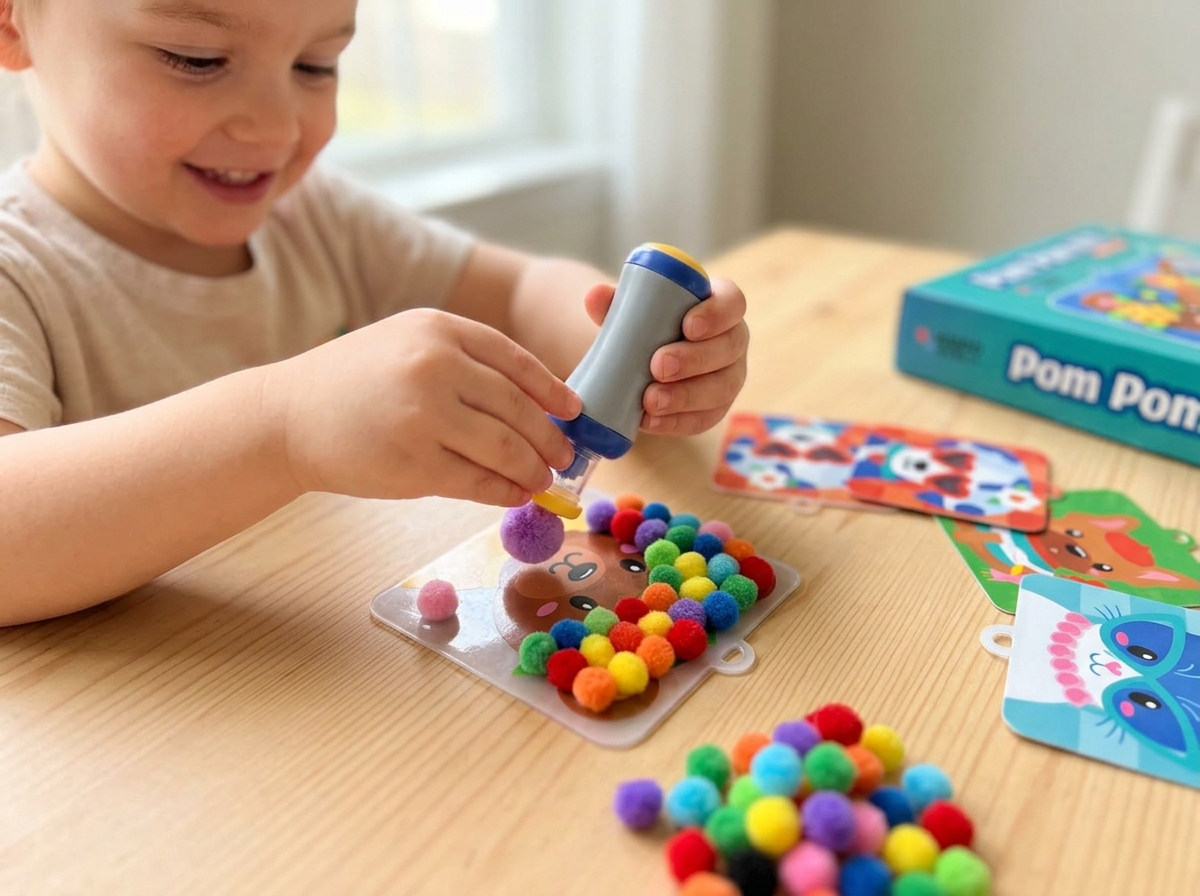
Move the popper to the sticky part of the card where you want the pom pom. Press the popper down so the pom pom stays stuck to the card. Repeat with more pom poms and colours until your picture is completely filled in.
-
4
Create and show off

Decorate the picture just the way you like – follow the colours on the card or use your own ideas. When you’re finished, take a photo of your masterpiece and show it off!
Prefer it on paper?
Download the printable Pom Pom Kit instructions — handy to keep next to the craft table.
- 12 animal cards
- 600 pom poms
- 1 Pom Pom Popper tool
Keep creating
All Pom Pom Kit products
New themes, extra pom poms and bundles for hours of screen-free fun.


